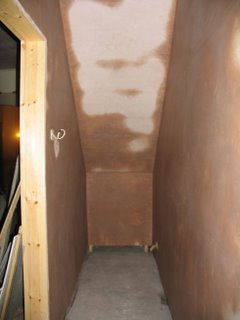
DIY - Under the stairs

Finished off the archway as well.

To get the skim beads to fit the arch I cut the bead along one edge, making a cut every inch or so, this will make it start to curve naturally, the first picture below shows the type of skim bead i use for this and the second image shows the skim bead in place with the cuts clearly visible. Once I had tacked the bead in place I start to fill in the underside of the arch with some plaster or bonding, depending on what I have mixed at the time, making sure that it isn't proud of the profile. If using plaster I will usually just give the filling a brush finnish and wait for itto harden before adding any more plaster to it, however, plaster shrinks more than bonding does, so you end up going back to it more often just to add another coat.


I'm thinking of doing some time-lapse photography of me plastering one of the walls, will look into that over the coming week.

0 Comments:
Post a Comment
<< Home